
So, you want to create MS Teams room within your organization. The below steps will help guide you and your administrator with creating a MS Teams Room. Before you deploy Microsoft Teams Rooms with Office 365, be sure you have met the requirements. Microsoft Teams Rooms requirements
Microsoft Teams Requirements:
- Skype for Business Online (Plan 2, or an Enterprise-based plan) or higher in your Microsoft 365 or Office 365 plan. The plan needs to allow dial-in conferencing capabilities.
- If you need dial-in capabilities from a meeting, you will need an Audio Conferencing and Phone System license. If you need dial-out capabilities from a meeting, you will need an Audio-Conferencing license.
- Your tenant users must have Exchange mailboxes.
- Your Microsoft Teams Rooms account does require at a minimum a Skype for Business Online (Plan 2) license, but it does not require an Exchange Online license. See Microsoft Teams Rooms licenses for details.
An Office 365 Administrator is required to create a new resource account in O365 admin portal.
Step 1: Sign in to the Office 365 portal

Step 2: Click on +Resource
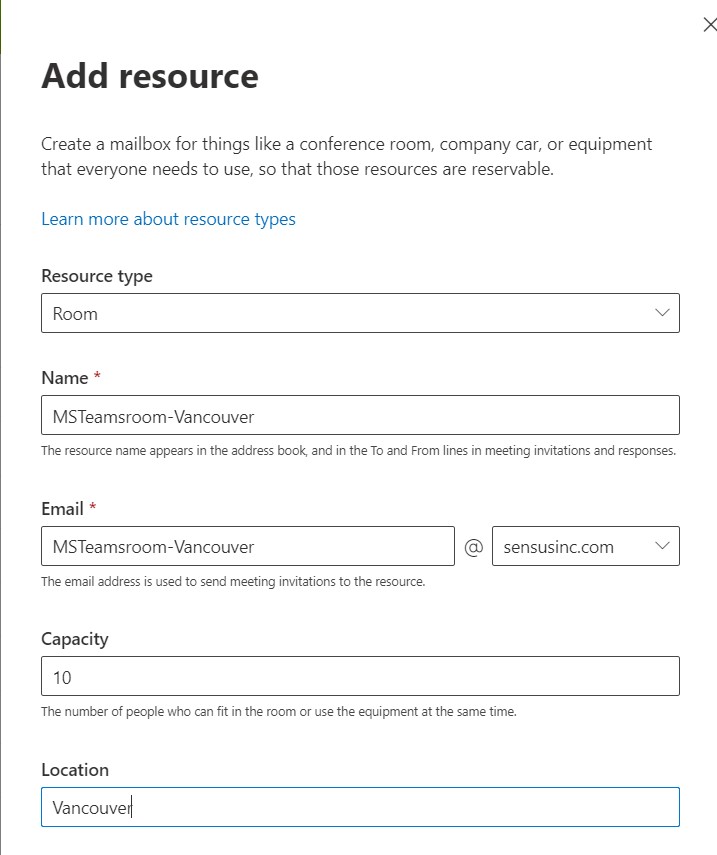
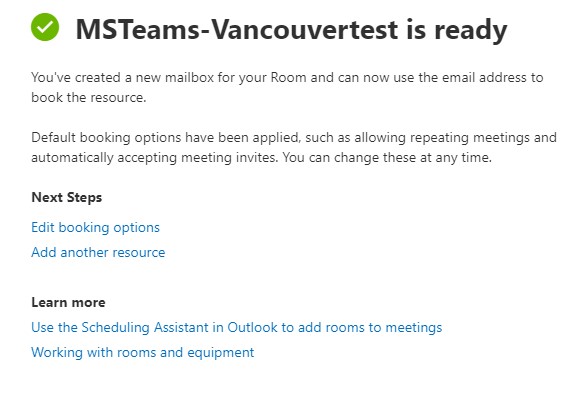
Step 3: Complete the ‘Add Resource’ Form, and click ‘Save’
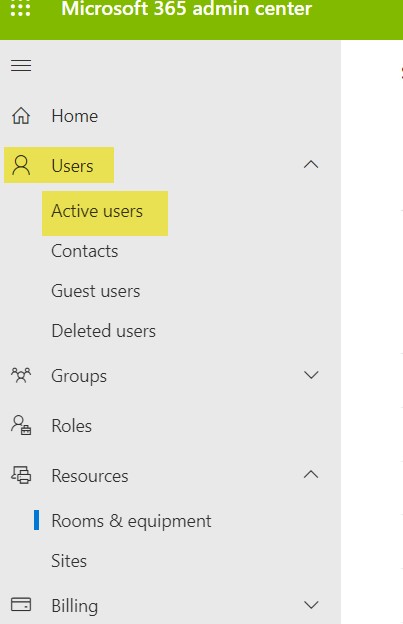
Step 4: Go to ‘Active Users’ in the Office 365 admin portal.
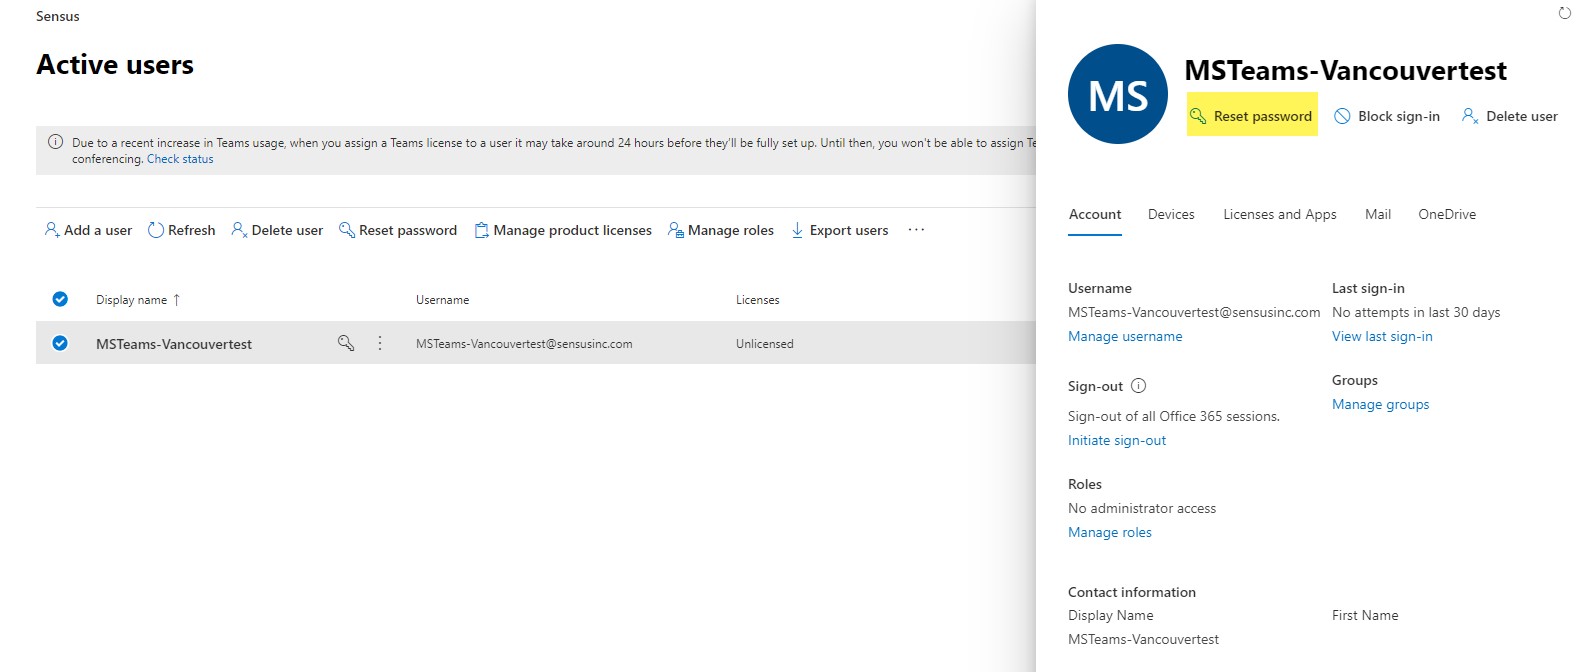
Step 5: Scroll to the active user that was created from the newly created Resource account. Click ‘Reset Password’ and create a new password for the resource account.
Step 6: Select the new resource account and click on the ‘Licenses and Apps’ tab and select the ‘MS Teams room License’.

We hope this has been helpful. If you require any assistance and would like to speak with one of our experts. Please email us anytime: sales@sensusinc.com